
Adding A New Issuer
** Please note: this only has to be done once for each Issuer/Filer **
From the Main Menu, click the + New Issuer / Filer button.

A form will appear for the New Issuer Information.
Fill out the form. The telephone number is required by IRS regulation.
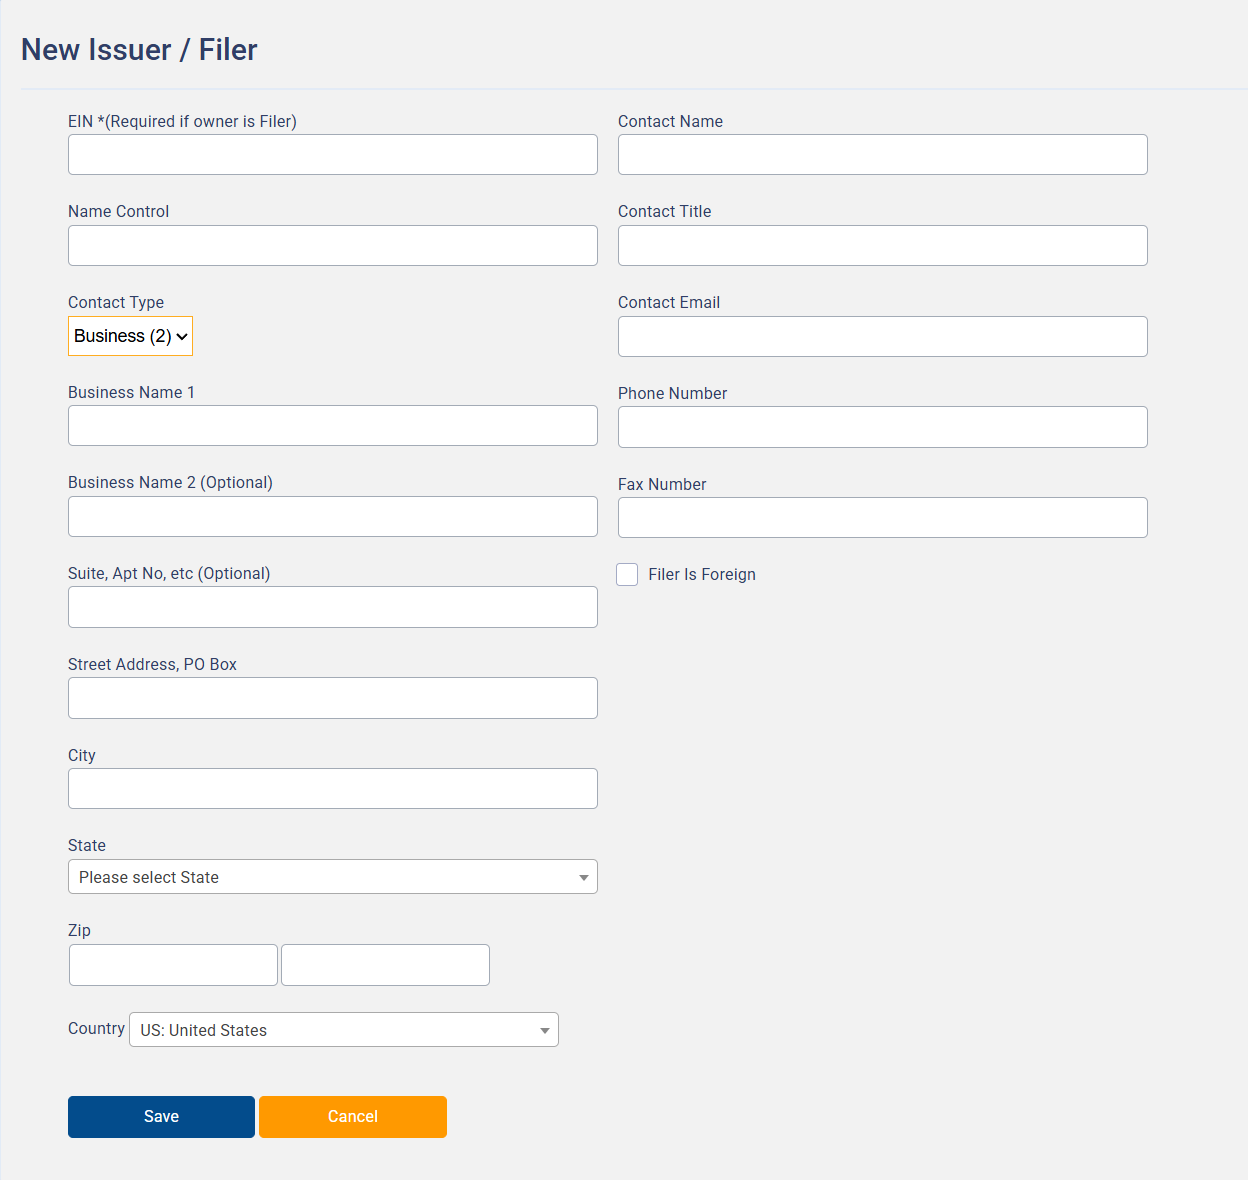
Once the form is completed, click the blue Save button
Now saved, the Issuer Information can be reviewed in the Show Issuer / Filer List on the top left of the Main Menu.
The list will show the newest entry at the top.

Editing Issuer Information
** Please note: if Issuer information is filled out incorrectly (or needs to be updated), a new Issuer will need to be added with the correct information. **
From the Main Menu click on the Show Issuer / Filer List on the upper left side of the page.
Proceed by selecting the Edit button to edit any Issuer informaiton.
The Issuer information is locked ( ) once a file has been e-filed. It is possible to click the blue Review button to view the information, but it cannot be changed.
Changing An Issuer In A File
*If the file has not been moved to processing, the Issuer can be replaced.
To the right of the file is a blue Change Issuer button that allows for the replacement of the current Issuer.

Select the drop-down arrow ( ) next to Issuer Name (Filer) and select the Issuer needed. To make individual changes to the current Issuer you must return to the Main Menu Issuer list.
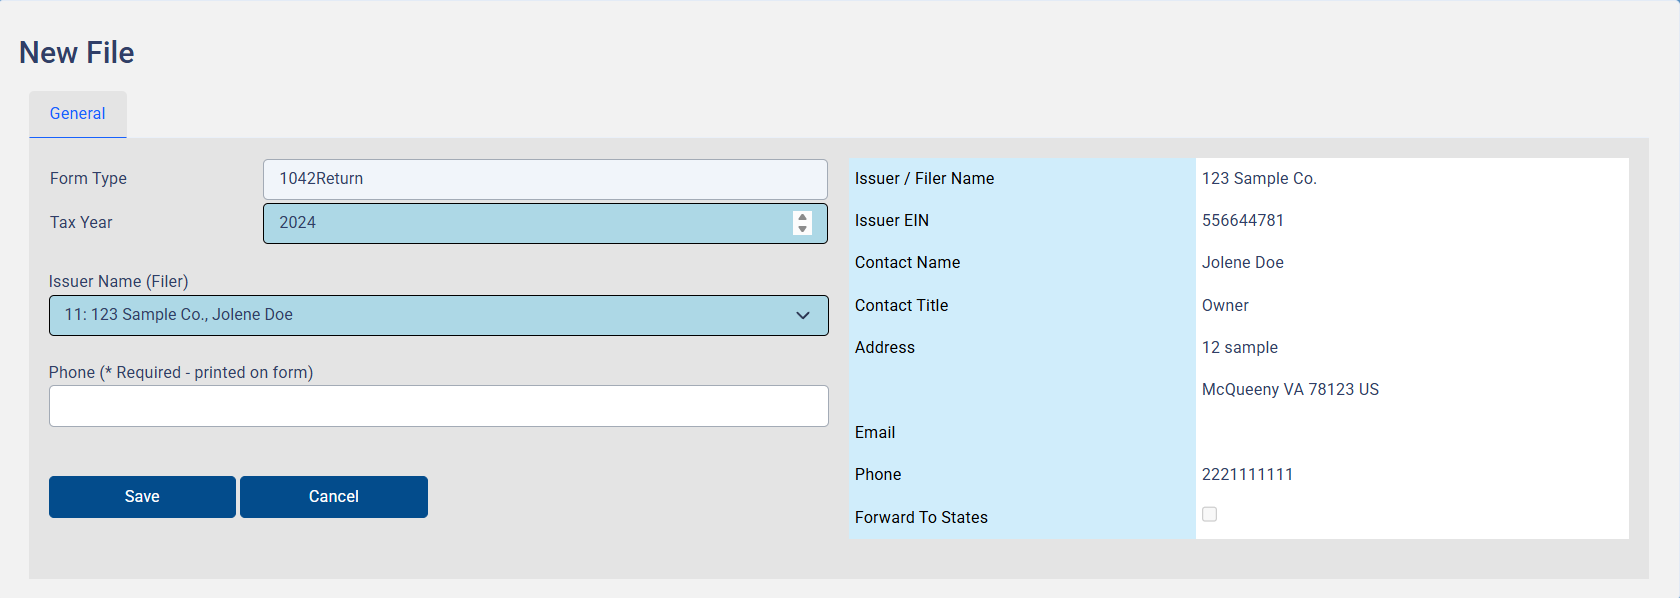
The tax year can also be changed through this process by clicking into the ‘Tax Year’ box and typing the year needed.
If a file has been moved to the Processing (or e-Filed / All Years) page with incorrect Issuer information, it will be necessary to write the IRS regarding the error(s) with the Issuer information.